Condensed Milk Fudge
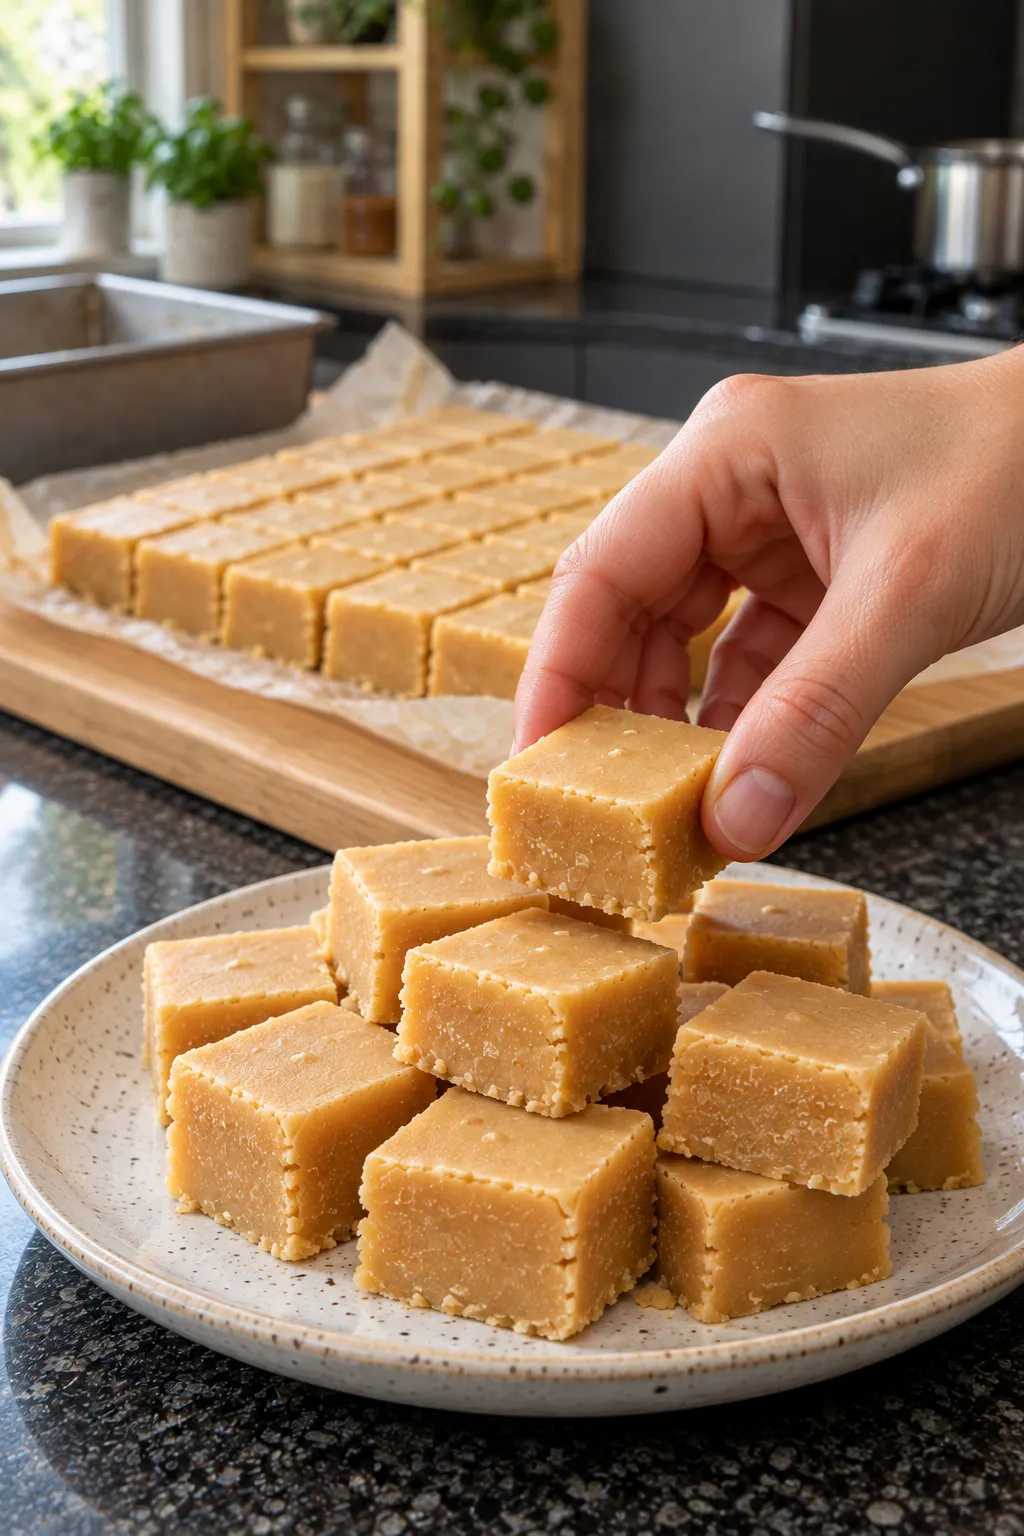
Creamy vanilla fudge with a fine, soft grain and a gentle caramel flavour, cooked to soft ball stage before being beaten and left to set in a tin.
- Total
- 30 min
- Prep
- 10 min
- Cook
- 20 min
- Level
- Medium
- Makes
- 36
- Tin
- 20 cm square tin
Condensed milk fudge gets its creamy texture from the milk and butter, but the fine grain comes from beating the cooked sugar mixture as it cools. Golden syrup adds a little caramel flavour and helps keep the texture from becoming coarse.
Watch the thermometer rather than the colour. The mixture turns golden well before it reaches soft ball stage, and taking it off the heat too soon can leave a slab that never firms up enough to cut.
Ingredients
For one 20 cm square tin, makes 36 pieces
For the fudge
You will need
- 20 cm square tin
- Baking paper
- Heavy-based saucepan with at least 3 litres capacity
- Sugar thermometer
- Wooden spoon
- Heatproof spatula
- Sharp knife
Cook to
120°C 248°F on a sugar thermometer
Method
Cook to 120°C · 248°F
Line the tin
Line a 20 cm square tin with baking paper, leaving enough overhang to lift the fudge out later. Press the paper firmly into the corners so the finished slab has straight sides. Measure the ingredients before heating the pan.
Melt the butter and dissolve the sugar
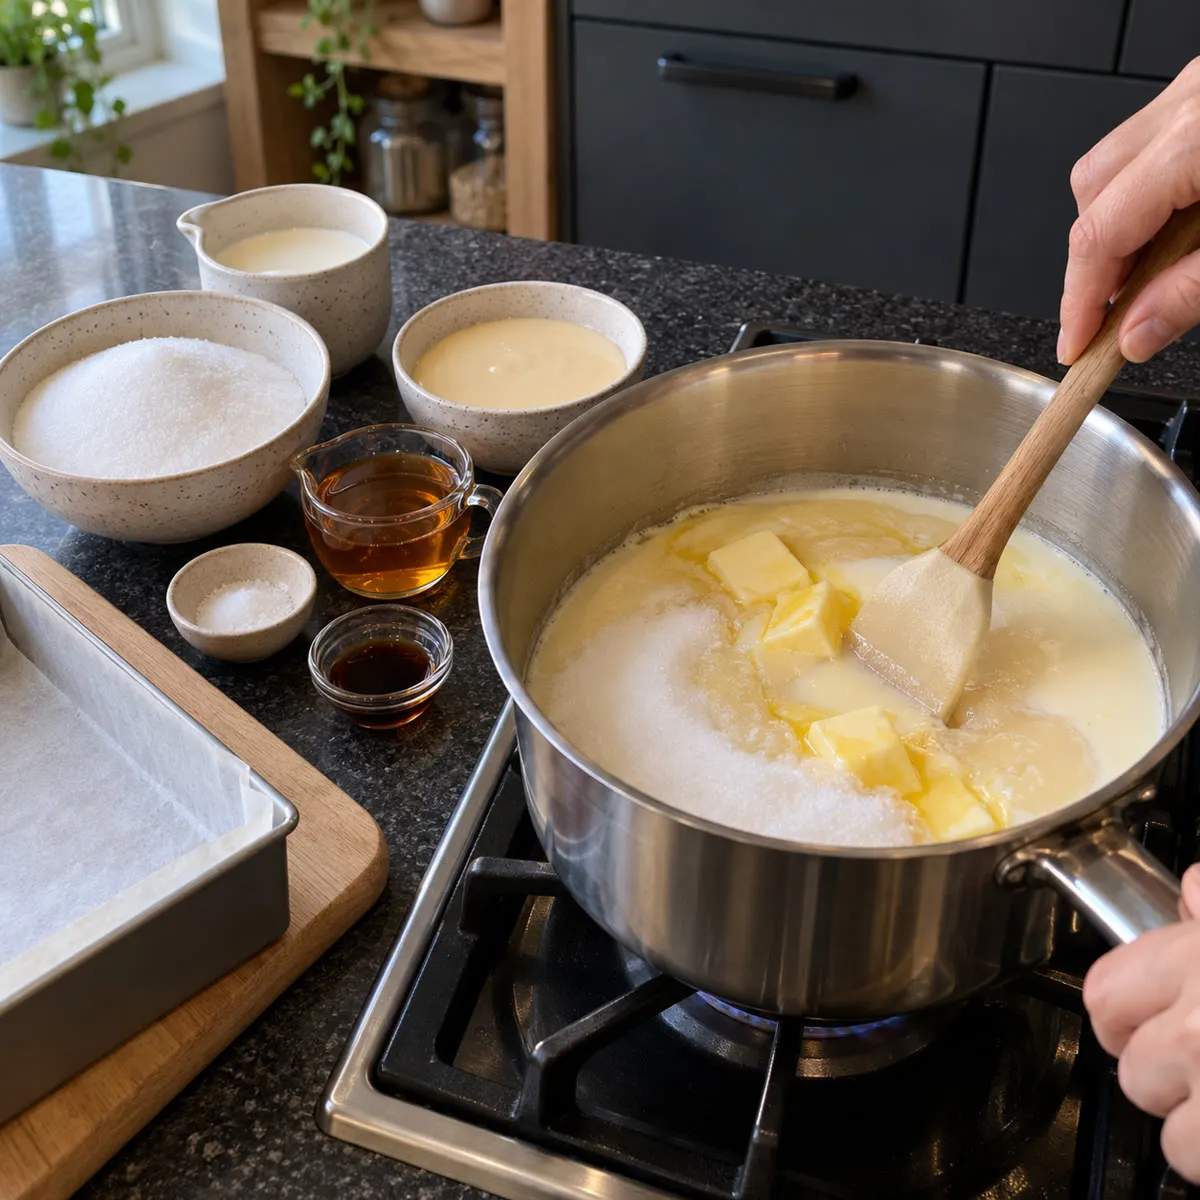
Put the 630 g granulated sugar, 100 g butter, 180 g condensed milk and 80 ml whole milk into a heavy-based saucepan of at least 3 litres capacity. Set over a low heat and stir with a wooden spoon until the butter has melted and the mixture looks smooth and creamy. Keep stirring until the sugar has dissolved completely, with no grains left on the spoon or the sides of the pan. Do not let it boil yet.
Add the syrup and salt
Stir in the 50 g golden syrup and 2 g fine salt. The syrup should disappear into the pale mixture without leaving amber streaks. Scrape across the base of the saucepan to check that nothing feels stuck.
Boil to soft ball stage
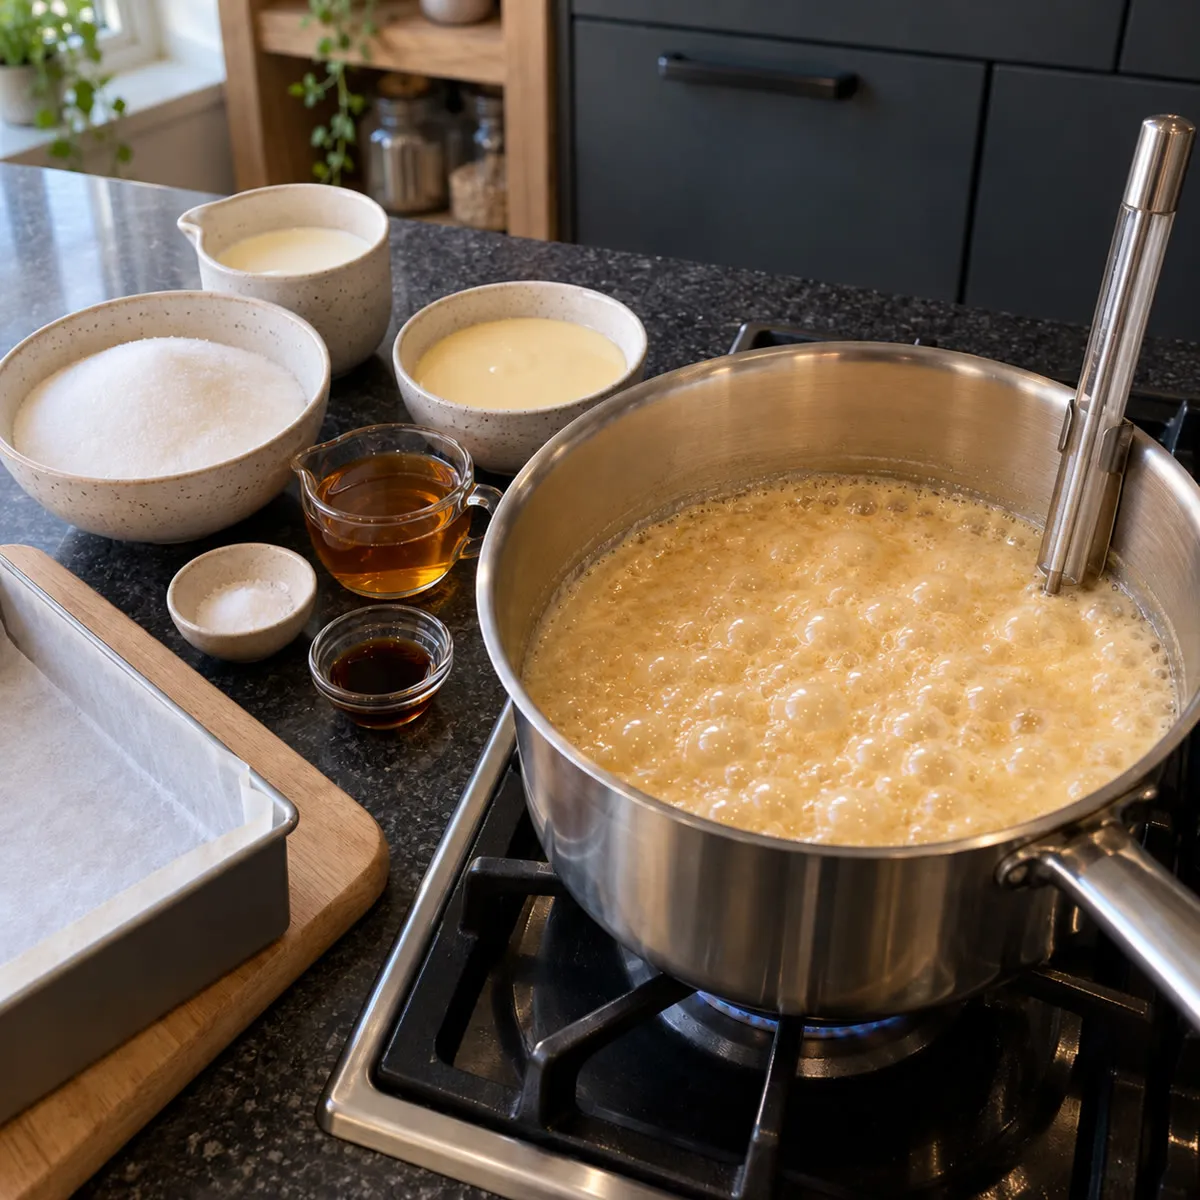
Increase the heat gradually until the mixture reaches a steady boil. Attach the sugar thermometer with its tip in the mixture, clear of the pan's base. Cook for about 15 to 20 minutes, until it reads 120C on a sugar thermometer. The fudge should bubble thickly and turn a warm golden colour. This is the soft ball stage: a little of the mixture dropped into cold water should gather into a soft ball that flattens when pressed. Keep children and pets away while it boils, as boiling sugar is far hotter than boiling water.
Let the bubbles settle
Take the saucepan off the heat and remove the thermometer carefully. Leave the mixture undisturbed for about 5 minutes. The fierce bubbling should stop, the surface should become glossy and the fudge should still move freely when the pan is tilted gently.
Beat in the vanilla
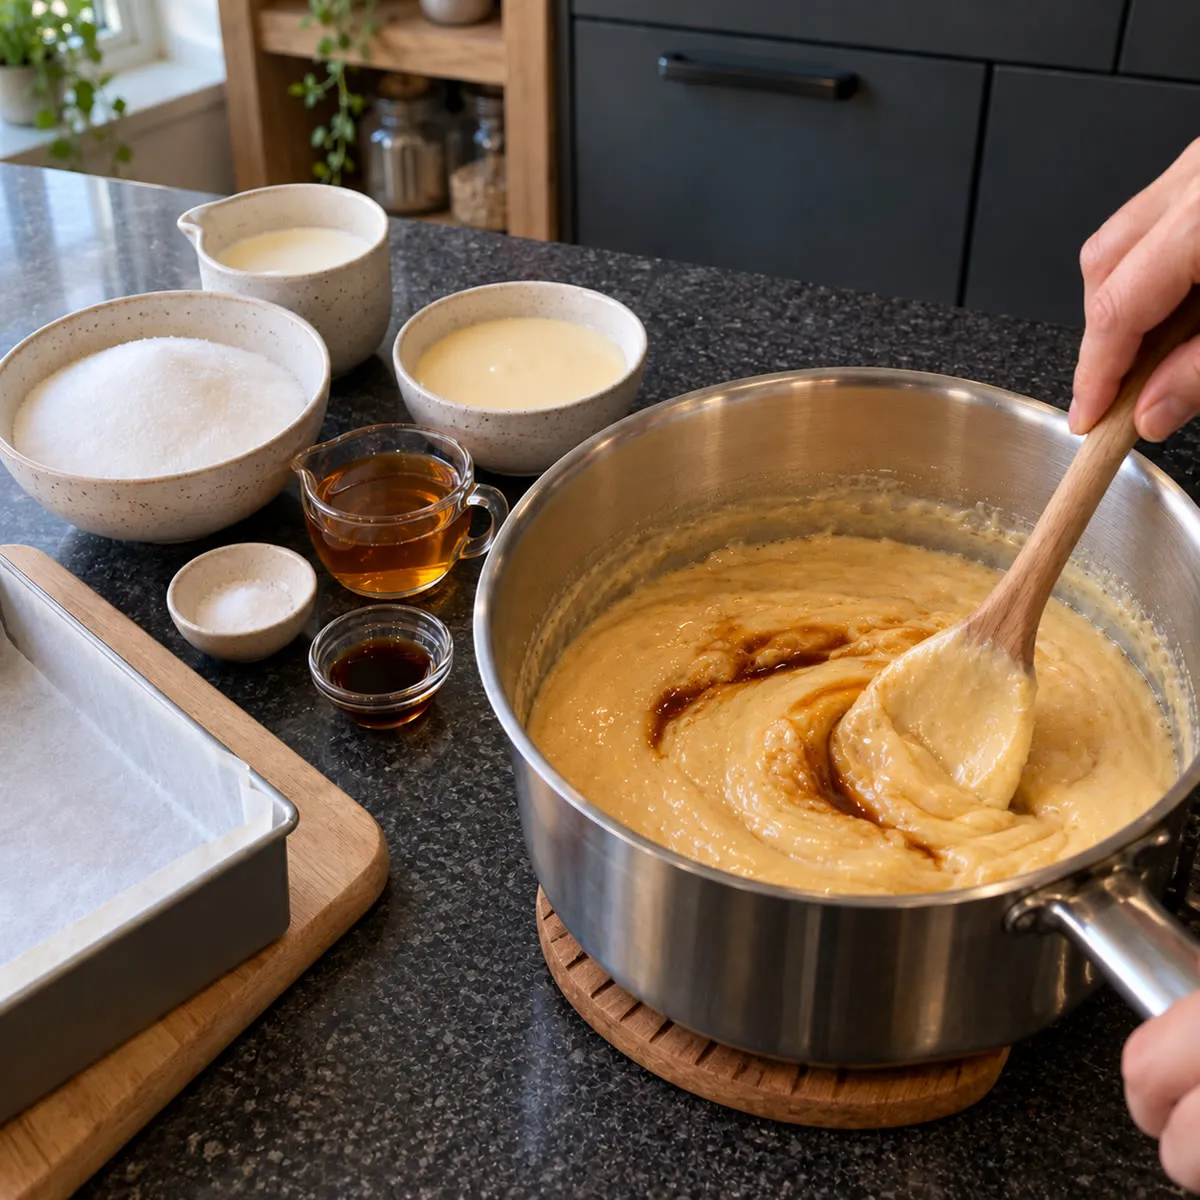
Add the 2 tsp vanilla extract and beat firmly with a wooden spoon. At first the mixture will look glossy and flow back into itself. Keep beating until it becomes thicker, loses much of its shine and begins to hold the marks of the spoon. It should still be soft enough to spread.
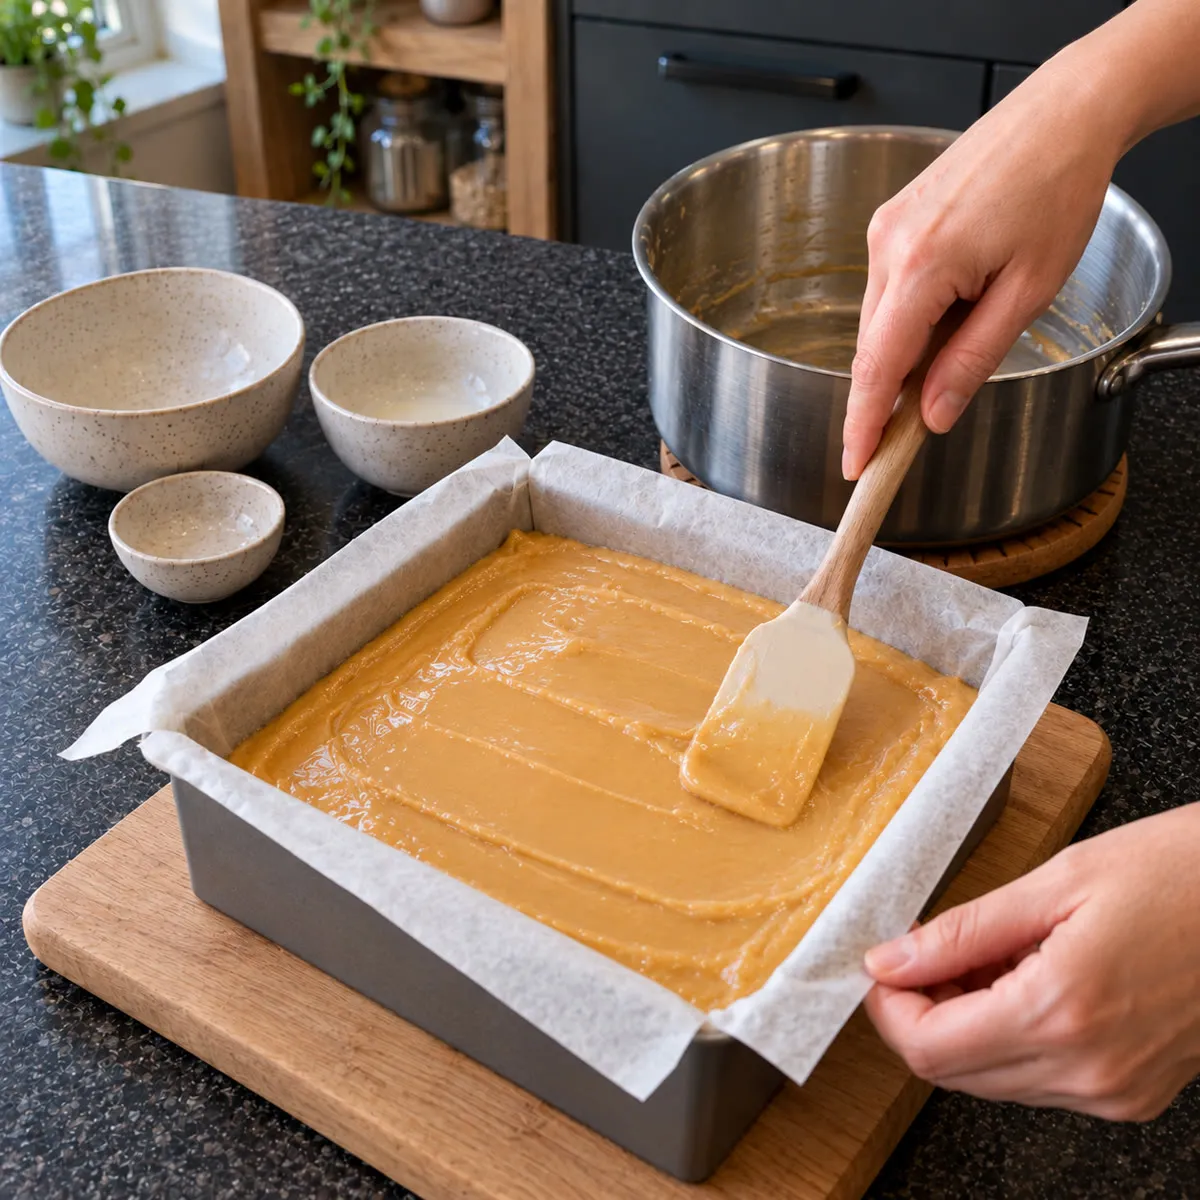
Spread into the tin
Immediately pour the thickened fudge into the lined tin. Use a heatproof spatula to push it into the corners and smooth the top. The surface should be level, with faint spatula marks rather than a wet, glossy sheen. Leave to set at room temperature for at least 4 hours.
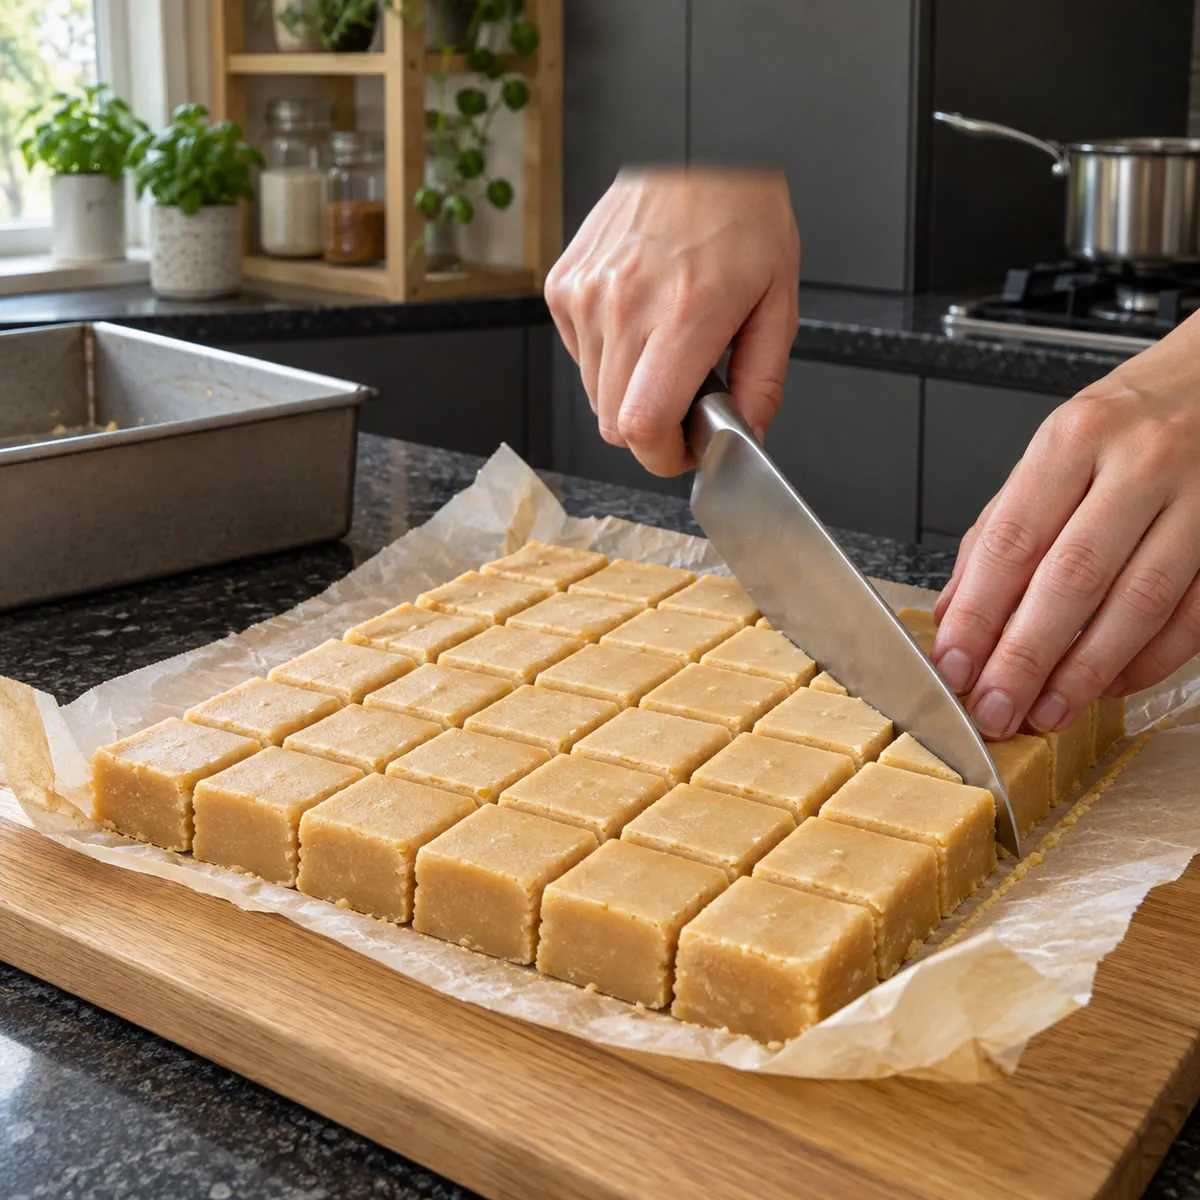
Cut into squares
Lift the firm slab out using the baking paper and place it on a chopping board. Peel away the paper and cut into 36 small squares with a sharp knife. The knife should pass through with gentle resistance, leaving clean edges and a fine, creamy-looking cut surface.
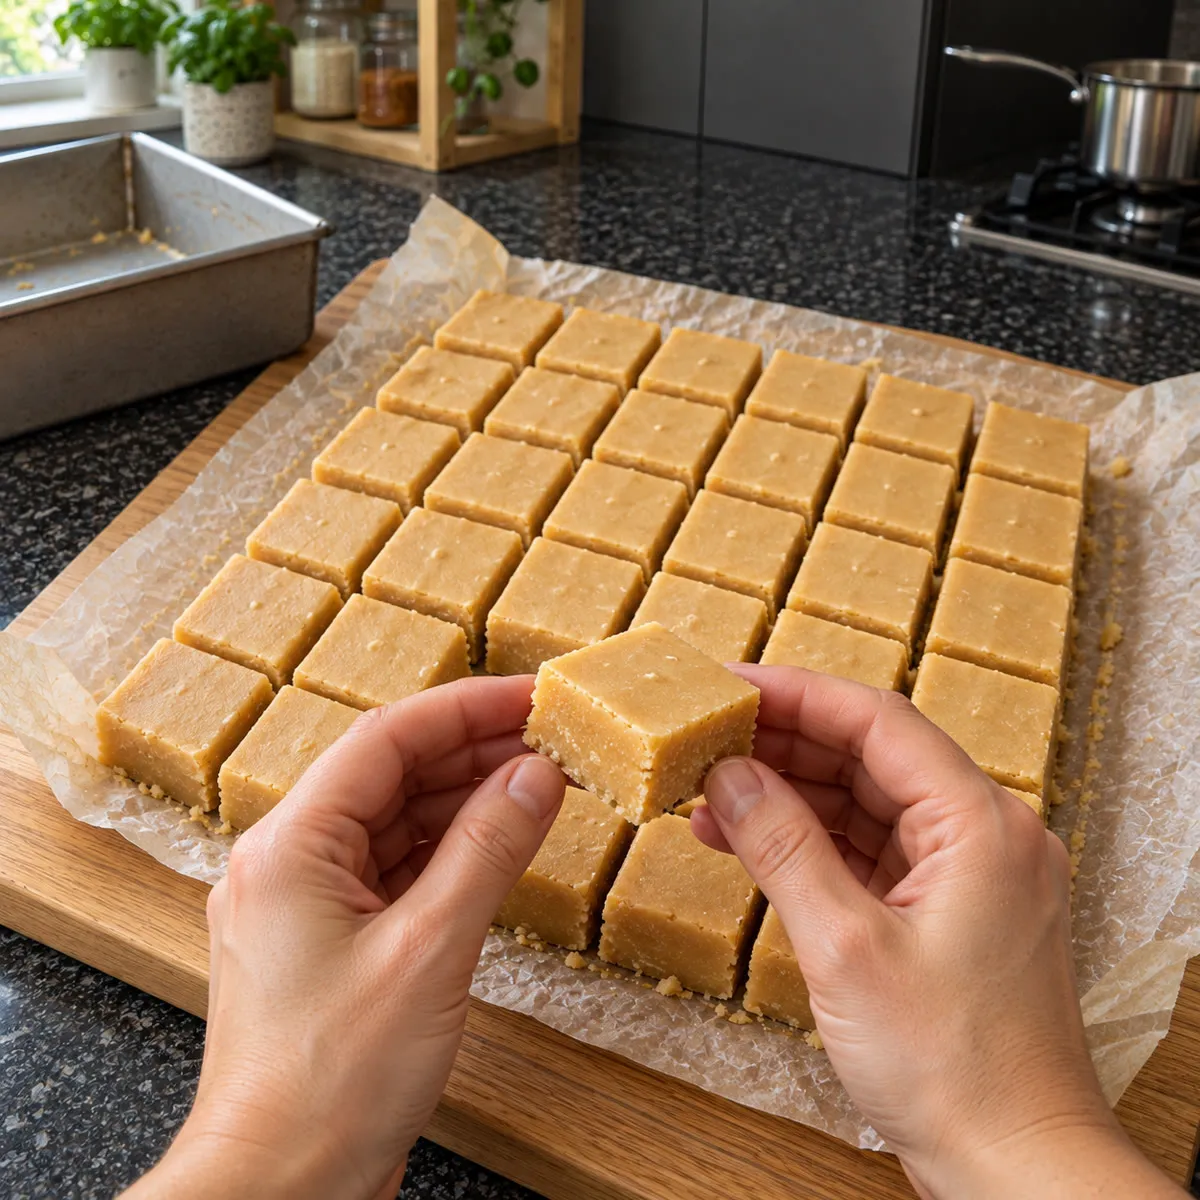
Separate the pieces
Ease the squares apart and lift one to check the middle. It should be evenly coloured, with a fine grain and no wet or sticky centre. Arrange the pieces with a little space between them so their freshly cut sides remain neat.
Baker's notes
- Use full-fat sweetened condensed milk, not evaporated milk. They contain different amounts of sugar and produce different results.
- A heavy-based saucepan spreads the heat more evenly. Thin pans can develop dark patches of cooked milk on the base before the sugar reaches its target temperature.
- The mixture expands as it boils. Use a saucepan holding at least three times the starting volume of the ingredients, with plenty of empty space above the mixture.
- Allergens: contains dairy. No egg, gluten, nuts or alcohol are added, although traces depend on the ingredients used.
Keeping it Keep the fudge in an airtight container in a cool, dry place for up to 2 weeks, with baking paper between layers. Avoid leaving it in direct sunlight or beside a warm hob, where the pieces can soften and become sticky.
Questions, answered
Why is my condensed milk fudge too soft?
A soft or sticky slab usually means the sugar mixture did not reach the required concentration, or the fudge was not beaten enough to form its fine grain. Check that the thermometer is accurate and that its tip does not touch the saucepan.
Why has my fudge turned crumbly?
Crumbly fudge can result from cooking beyond the target temperature or beating until the mixture is already stiff. It should go into the tin while it is thick but still spreadable.
Can I use light brown sugar instead of white sugar?
Light brown sugar will give a darker colour and a stronger caramel flavour. Its moisture content also differs, so the texture may change. White granulated sugar gives the more consistent result for this version.
Can I make condensed milk fudge without a sugar thermometer?
The cold-water test can indicate the sugar stage, but a thermometer is more reliable for this recipe. A small difference in the final cooking temperature can change whether the fudge sets firmly or stays sticky.
Can I freeze the finished fudge?
Yes. Wrap the pieces well, place them in an airtight freezer container and freeze for up to 3 months. Thaw them while still wrapped to reduce moisture collecting on the surface.
If it goes wrong
- The caramel seizedIt is almost always fixable. The lump re-melts.