Fudgy Brown Butter Brownies
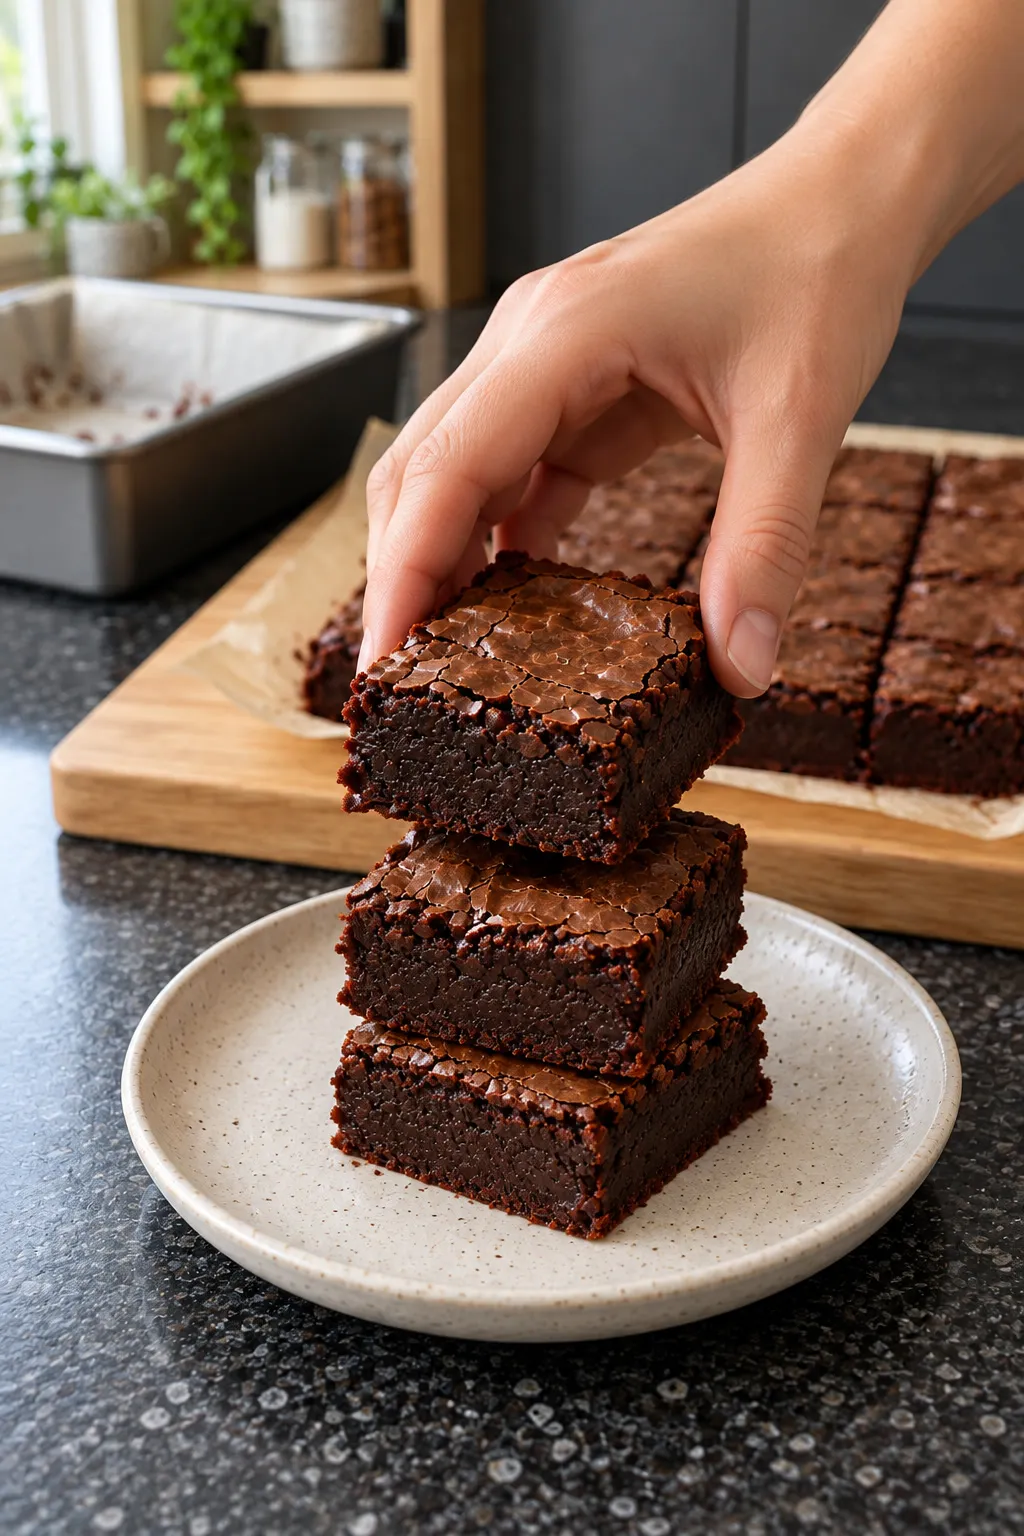
Nutty browned butter gives these dark chocolate brownies a toasted flavour, while a thin, crackly crust covers a dense, fudgy middle that stays soft after cooling.
- Total
- 52 min
- Prep
- 25 min
- Bake
- 27 min
- Level
- Medium
- Makes
- 16
- Tin
- 20 cm square tin
These brown butter brownies have a toasted, almost toffee-like flavour beneath the dark chocolate. The browned milk solids stay in the batter, where they give the middle its distinctive nutty taste.
Watch the butter closely once it starts to foam. The difference between golden brown and burnt can be a matter of seconds, and burnt butter will leave a bitter taste that the chocolate cannot hide.
Ingredients
For one 20 cm square tin, makes 16 squares
For the brownies
You will need
- 20 cm square baking tin
- Baking paper
- Small light-coloured saucepan
- Heatproof mixing bowl
- Large mixing bowl
- Electric hand whisk
- Balloon whisk
- Flexible spatula
- Wire cooling rack
- Skewer
- Sharp knife
Oven
170°C fan 150°C 340°F
Method
Oven 170°C · fan 150°C · 340°F
Brown the butter
Put the butter in a light-coloured saucepan over a medium heat. Stir as it melts, then let it foam and bubble. After several minutes, the bubbling will become quieter and small golden specks will collect on the bottom. When the butter smells of toasted hazelnuts and the specks turn amber brown, take the pan off the heat immediately. Pour the butter and all its brown specks into a heatproof bowl to stop it cooking.
Melt the chocolate
Add the chopped dark chocolate to the warm browned butter and stir until it starts to soften. If pieces remain, set the bowl over a pan of barely simmering water, without letting the bowl touch the water, or warm it in short bursts in a microwave. Stir until the mixture is smooth and glossy. Whisk in the cocoa powder until no dry patches remain, then leave the mixture to cool until it feels warm rather than hot.
Whisk the eggs and sugar
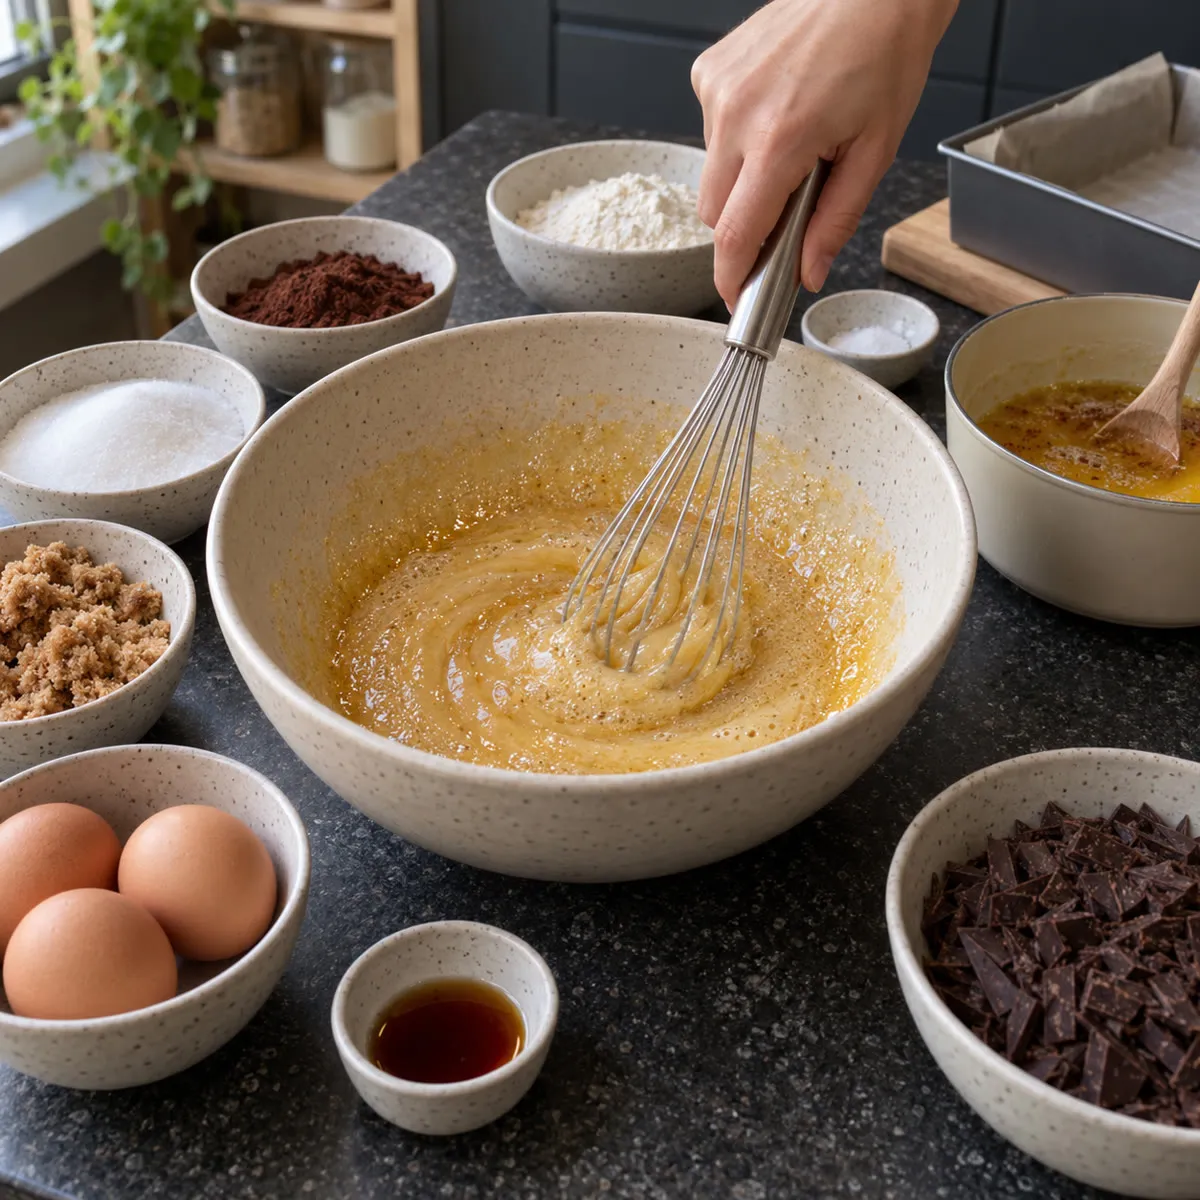
Put the eggs, caster sugar and light brown soft sugar in a large bowl. Beat with an electric hand whisk for 3 to 4 minutes until the mixture is paler, thicker and slightly foamy. When you lift the beaters, a ribbon of mixture should sit on the surface briefly before sinking back in. Beat in the vanilla extract.
Bring the batter together
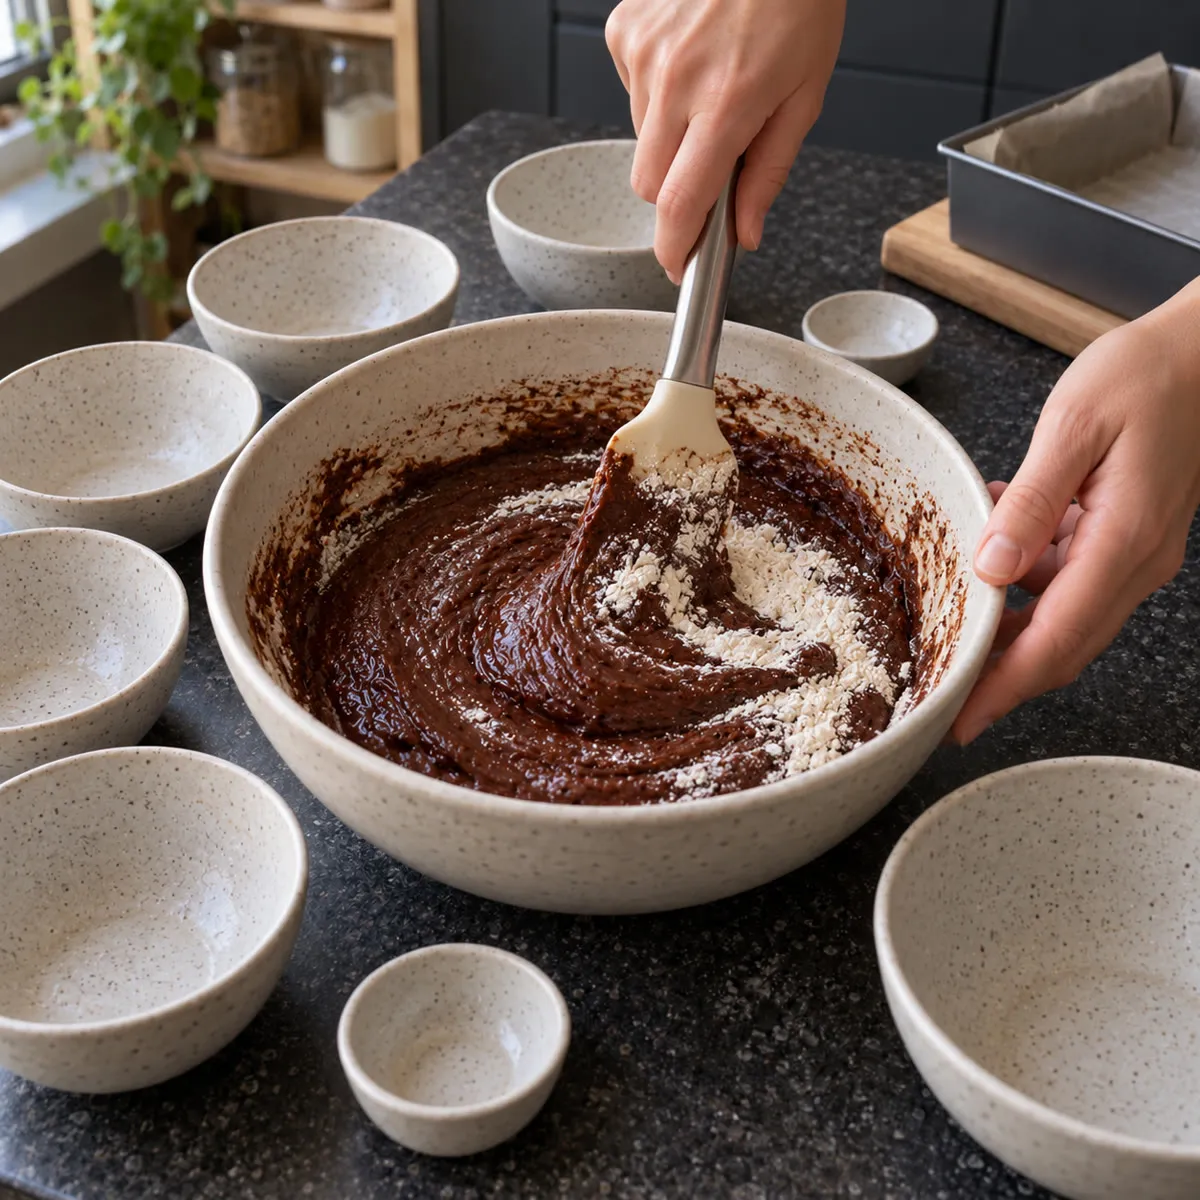
Pour the warm chocolate and butter mixture into the whisked eggs and sugar. Fold with a flexible spatula until the batter is an even dark brown with no pale streaks. Add the plain flour and fine sea salt, then fold gently until no flour is visible. The finished batter should be thick and glossy, falling from the spatula in a slow, heavy ribbon.
Fill the tin
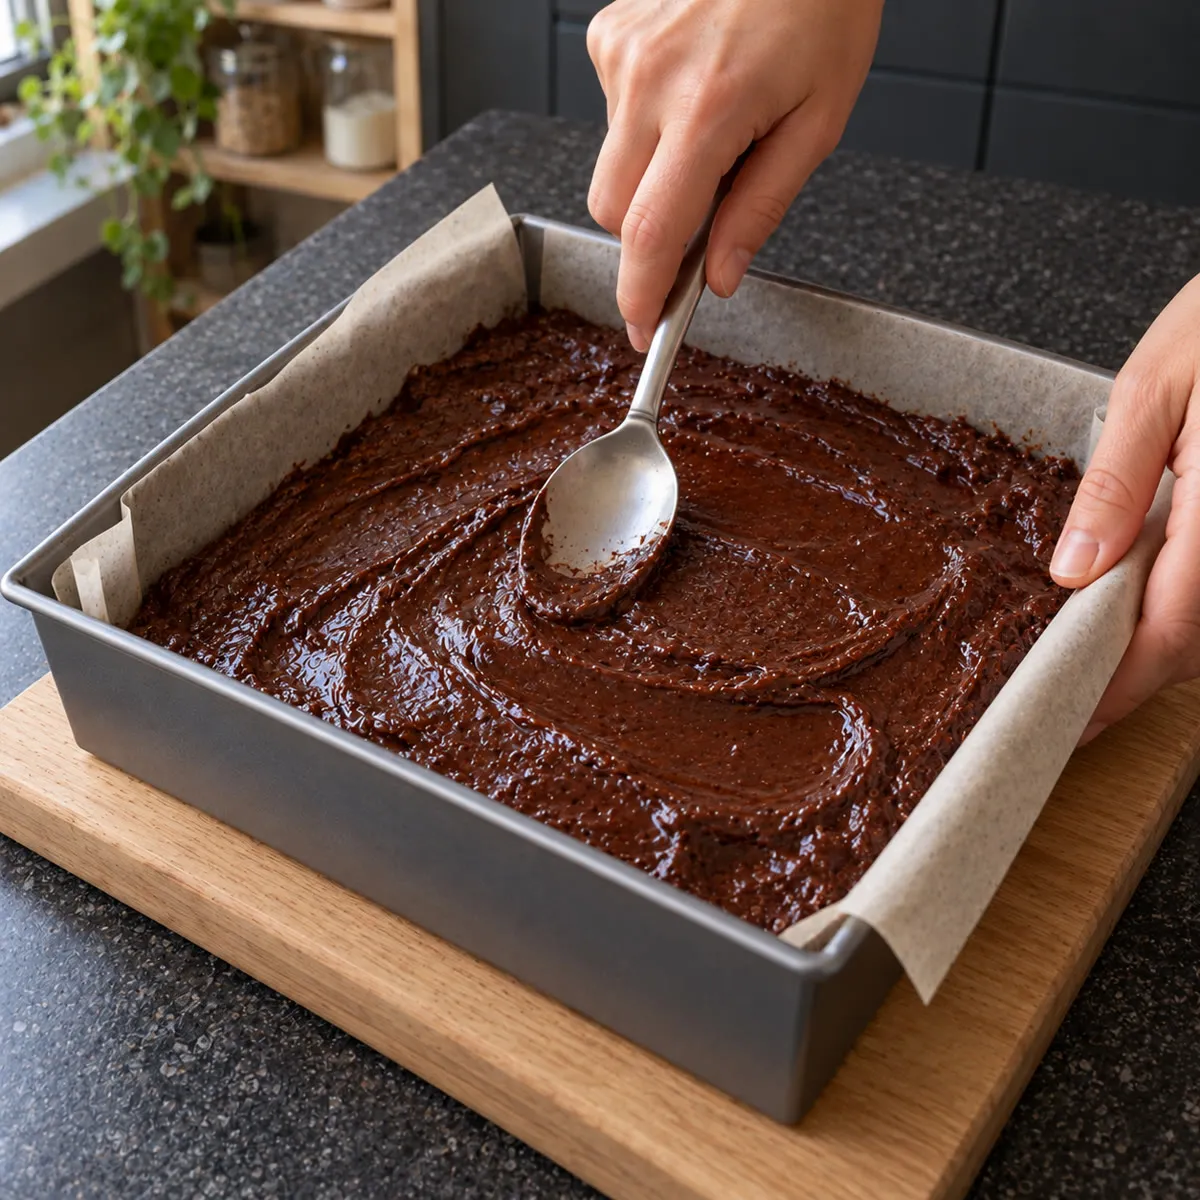
Heat the oven to 170C, 150C fan. Line a 20 cm square tin with baking paper that overhangs two opposite sides. Scrape the batter into the tin and spread it into the corners with the spatula. The surface should be level, dark and glossy, with a few shallow swirls where the spatula has passed.
Bake until barely set
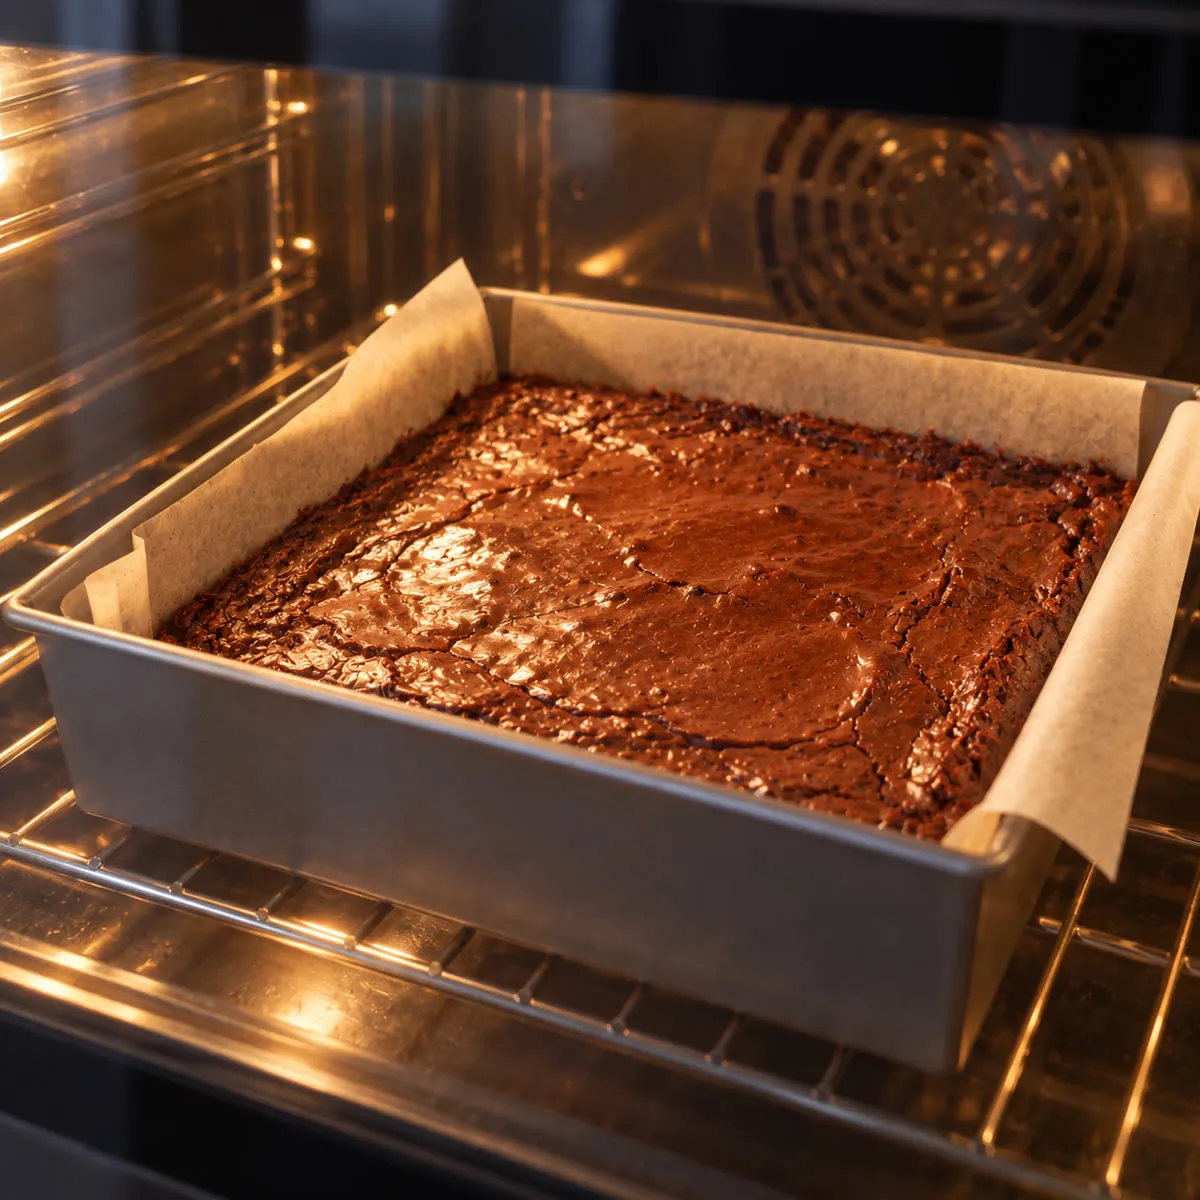
Place the tin on the middle shelf of the oven. Bake for 25 to 30 minutes, checking towards the beginning of the range. The top should have a thin, papery crust with fine cracks, and the edges should look set. A skewer pushed into the middle comes out with a few moist crumbs, not wet batter, and the centre has only a slight wobble. Take the tin out while the middle still feels a little soft, as it will firm up while cooling.
Leave to cool
Put the tin on a wire rack and cool completely in the tin. The centre will gradually become firmer and the surface will lose some of its initial shine. Do not lift the slab while it is warm, as the soft middle can bend and crack. Once completely cold, it should feel set beneath the thin crust.
Cut into squares
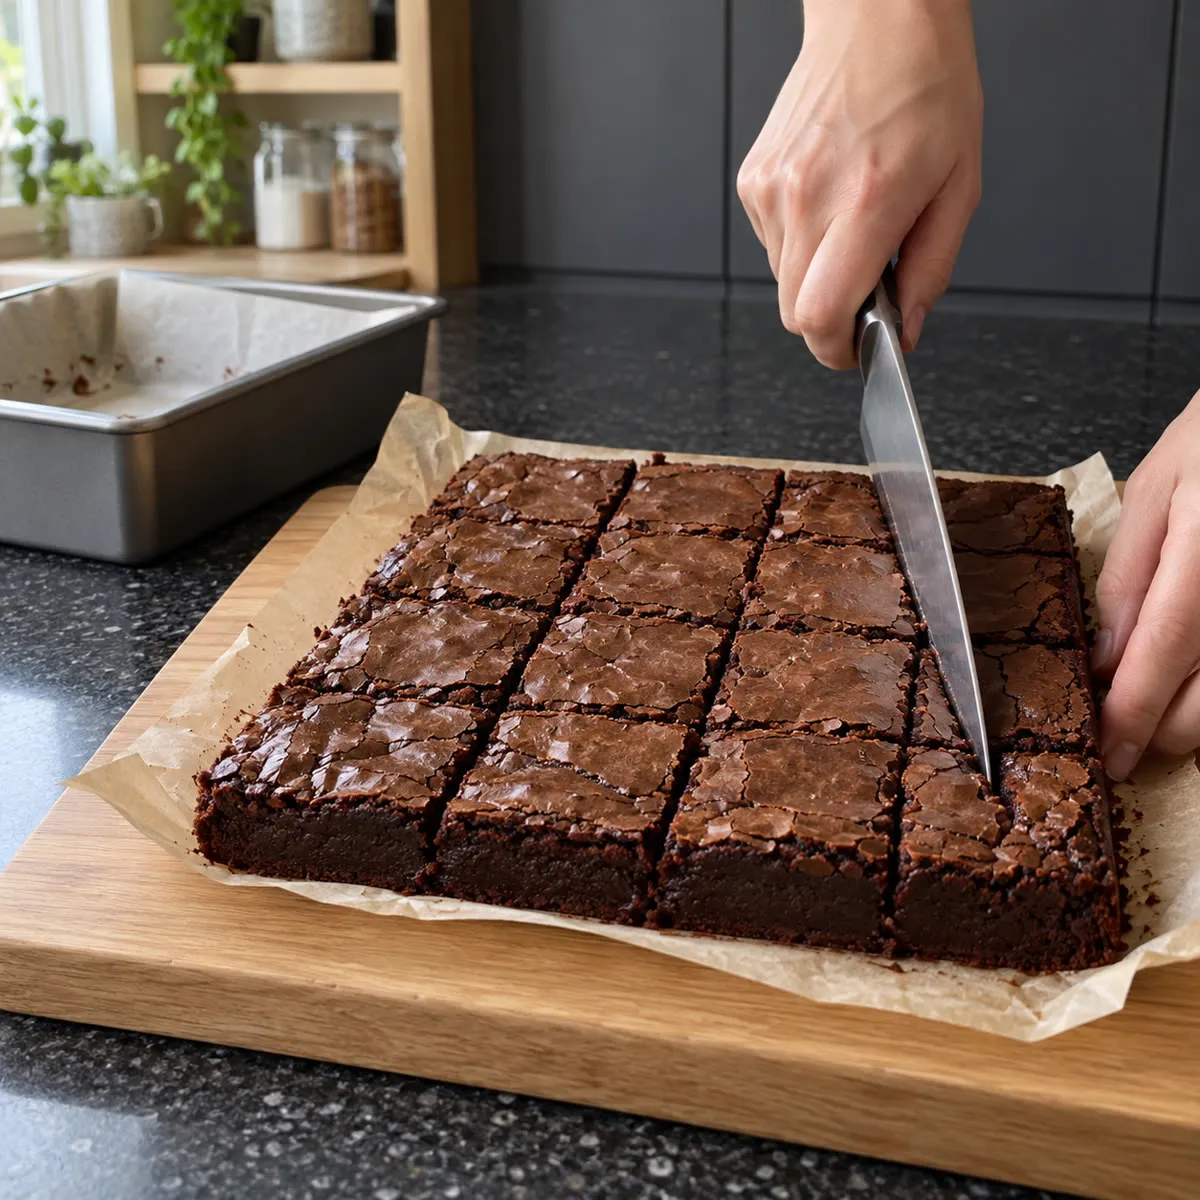
Use the overhanging baking paper to lift the completely cooled slab onto a board. Warm a sharp knife in hot water, dry it thoroughly and cut the slab into 16 squares. Wipe the blade between cuts for clean edges. The knife should pass through the thin crust into a dense, soft centre without dragging large pieces of brownie with it.
Lift and serve
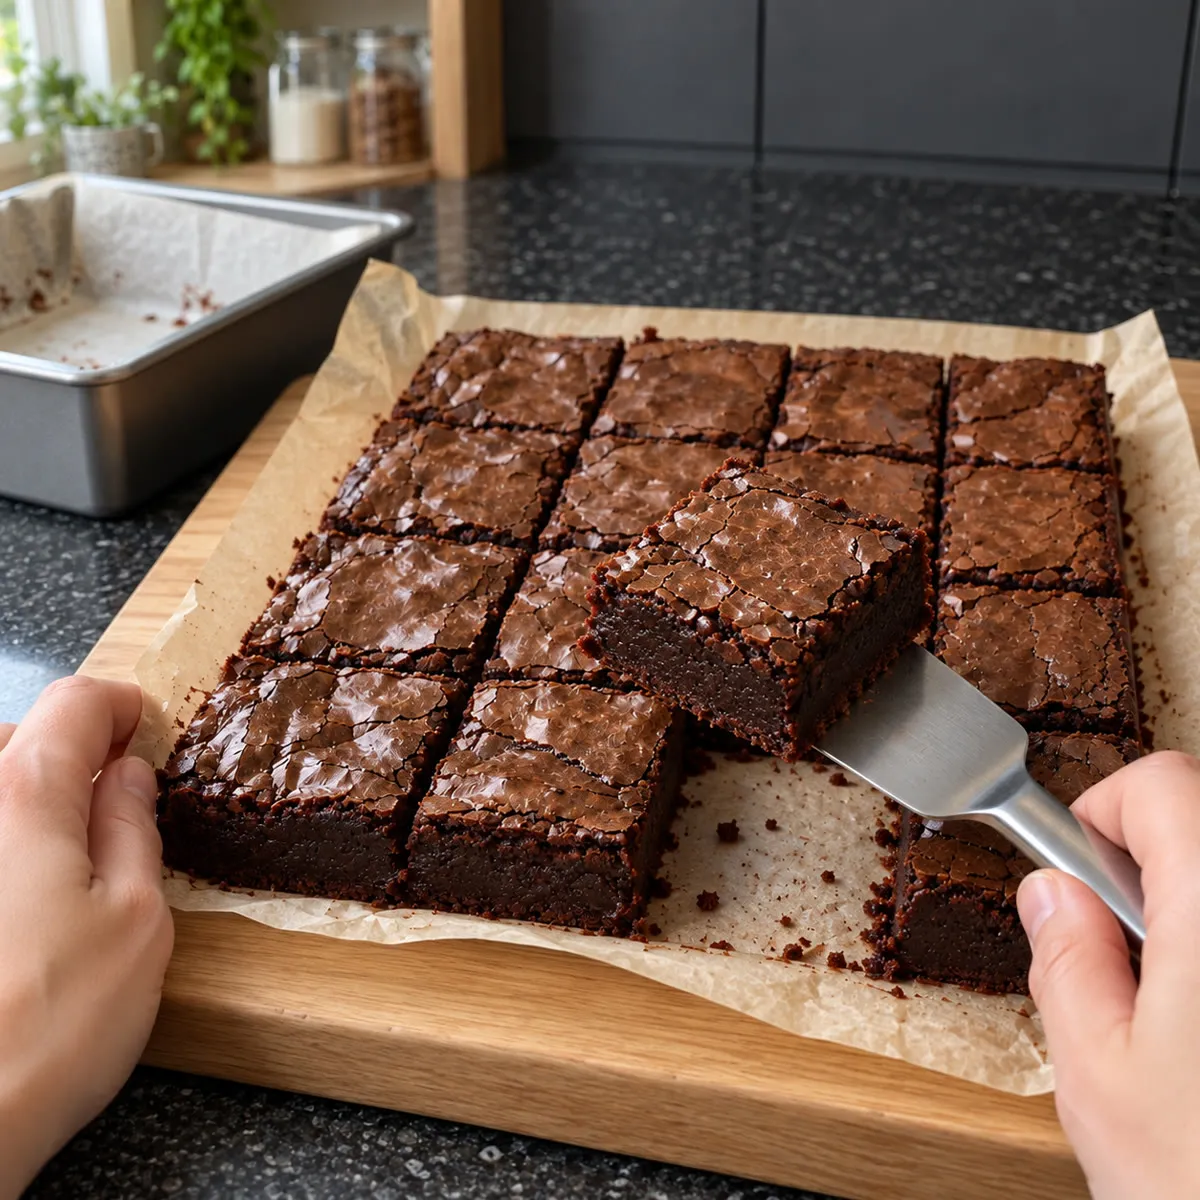
Slide a small spatula beneath one square and lift it clear of the others. The brownie should hold its shape, with a fine crackled top and a dark, fudgy interior that looks moist but not liquid. Serve at room temperature for a soft, dense bite.
Baker's notes
- Use a light-coloured saucepan for browning the butter. It makes the milk solids easier to see as they change from golden to amber, before they become too dark.
- Dark chocolate with around 70% cocoa solids gives the brownies a pronounced chocolate flavour without making the batter excessively sweet. Milk chocolate contains more sugar and produces a different result.
- Dutch-process cocoa has a darker colour and a smoother flavour than many natural cocoa powders. Either can be used here, but the finished colour and taste will differ slightly.
- These brownies contain dairy, egg and gluten. They contain no added nuts or alcohol, but check the chocolate packaging for possible nut cross-contact.
- A short spell in the fridge after the brownies have cooled makes the centre firmer and easier to cut. Let the squares return to room temperature if you prefer a softer texture.
Keeping it Keep the cut brownies in an airtight container at room temperature for up to 3 days, or in the fridge for up to 5 days. They can also be frozen, individually wrapped, for up to 3 months. Thaw in their wrapping at room temperature so condensation stays off the crust.
Questions, answered
Why use brown butter instead of melted butter?
Browning cooks the milk solids until they develop a toasted, nutty flavour. Ordinary melted butter supplies richness, but it does not give the brownies that deeper, slightly caramel-like taste.
Can I make the brownies with salted butter?
Yes, although the amount of salt varies between brands. Use the salted butter and leave out the added fine sea salt. The finished brownies may still taste slightly saltier than the original version.
Can I use chocolate chips instead of a dark chocolate bar?
A chopped chocolate bar is the better choice because it usually melts into a smoother mixture. Some baking chips are made to hold their shape, so they can take longer to melt and may leave small lumps.
Why do my brownies taste more bitter than expected?
Very dark chocolate can make the flavour quite sharp, especially alongside cocoa powder. Butter browned beyond amber can also add bitterness. For a milder batch, choose dark chocolate with around 60% to 65% cocoa solids.
Can I freeze the whole brownie slab before cutting it?
Yes. Once completely cold, lift the slab out of the tin, wrap it tightly and freeze it whole. Thaw it in its wrapping before cutting, so the crust stays intact and moisture does not collect directly on the surface.